#StyleItNow Challenge
- Jennifer Laura
- Jan 13, 2021
- 5 min read
Last night I sat at my kitchen table until 8pm designing my kitchen and breakfast nook makeover. We're not doing a full renovation just some easy phase one updates, but after totaling up everything that I need (ok fine, want) it still comes in at over 2k (and that's with the hope of finding several things on marketplace). These are all things I've planned and budgeted for, but it still stings (especially after Christmas). So as a palette cleanser while I'm in between projects I thought we could all band together and do a new challenge I came up with called #StyleItNow. Basically you pick a neglected corner of your home and using only what you already have at home you... #StyleItNow. I invited several of my home decor friends to join in and I hope you will too! We'll be over on instagram (and Tik Tok) today as we all share our mini makeovers! Feel free to share tomorrow, Friday, or even over the weekend (I know you're busy!) if you want to participate! I challenge you to get creative and improve your home in some way while spending $0. Tag me on instagram so I can see it and make sure to use the hashtag #StyleItNow. I can't wait to see what you come up with!
So what did I decide to makeover? After walking around my house multiple times trying to decide what corner I wanted to tackle (I have about 20 corners that need a makeover, but most of them would not cost $0!), I decided to work on this shelf and desk area in my kitchen.
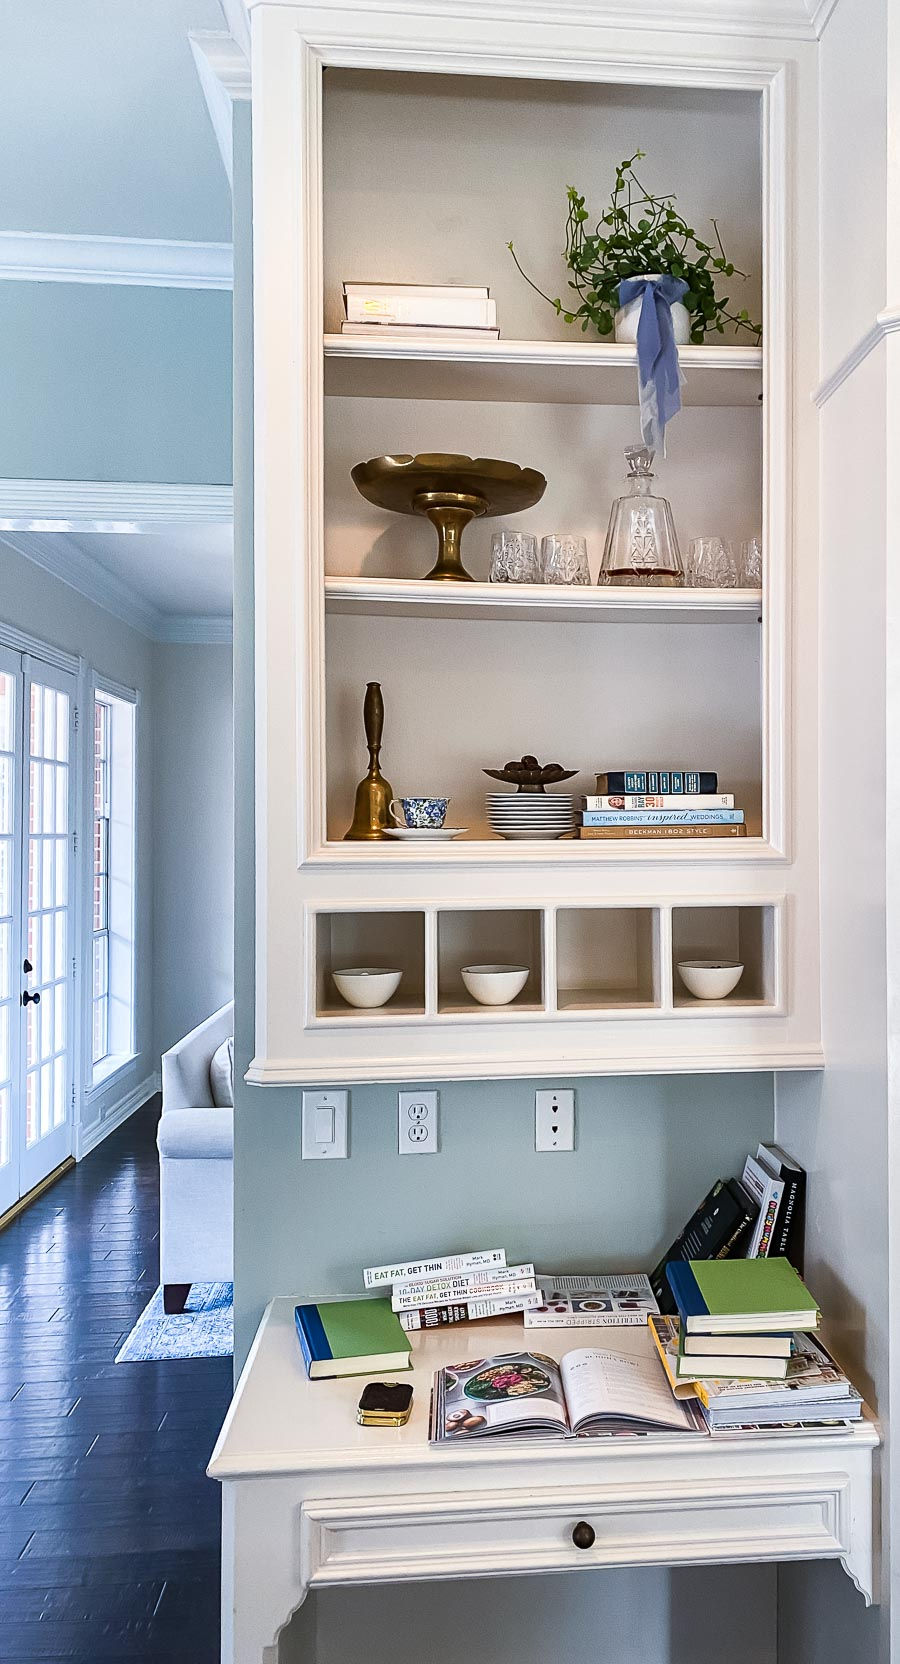
You may have seen me style these shelves before for Christmas...

but since then I've put the Christmas decorations away so they were looking a little bare. I've also never showed the desk area that lives under these shelves. I've never quite known what to do with this little area...

We don't really use it much as desk, but we might if it had a chair there (hello!). It also has lots of wall pimples- unsightly, yet necessary, wall parts- an outlet, a light switch, and an ethernet port (that's the only one that's not necessary). It also houses all of our cookbooks which I use all the time and do like to have on hand, but they aren't all the prettiest. The first thing I decided to do was pull the book jackets off of them, I've done this for years with my coffee table and decor books and I'm not sure why it didn't occur to me to do it with my cookbooks.
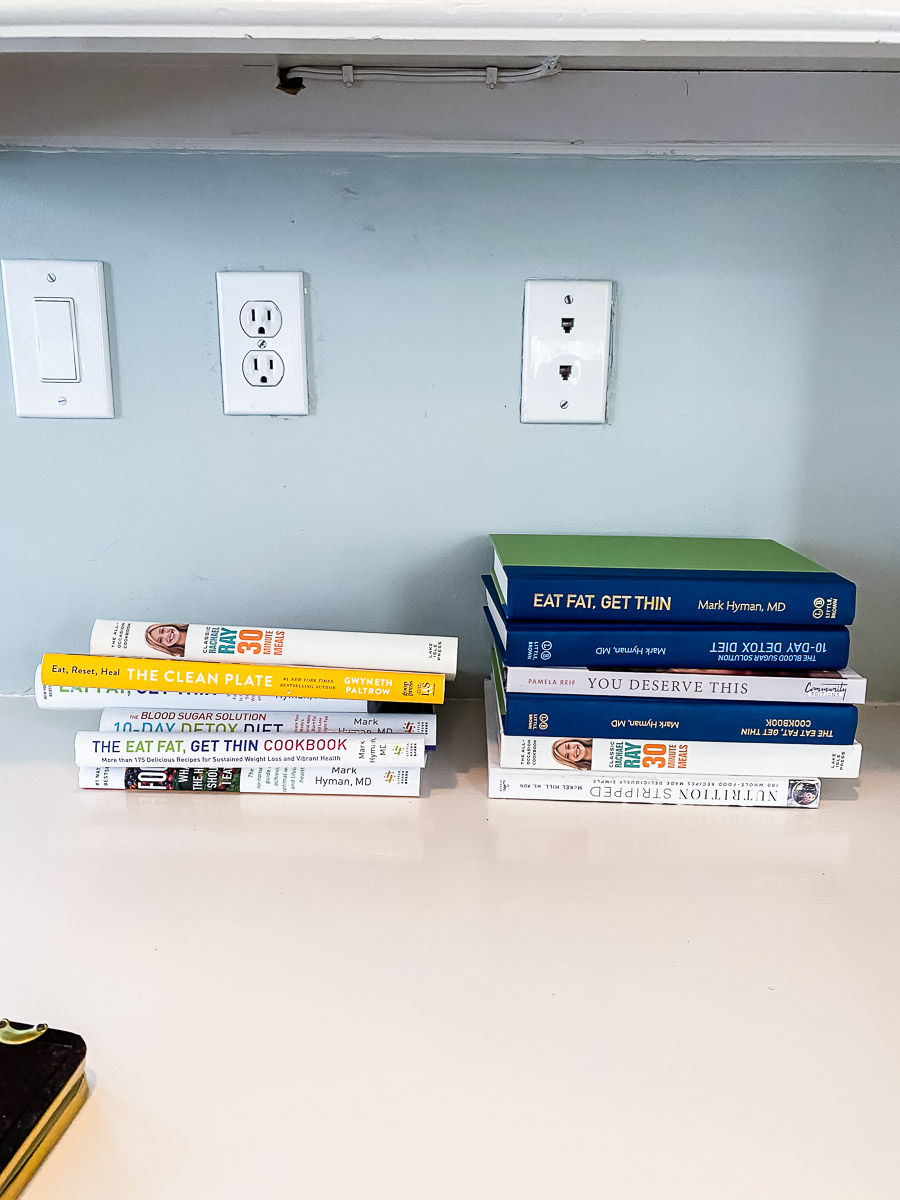
They already looked so much better. Then I decided to place some art over the "wall pimples", this is a floral piece I picked up at an antique store in Waco back in November and love it! It's a bit too large for this space, but was perfect for today and this challenge. I grabbed the measurements of it and put them into the notes on my phone so now when I'm out and about I can be on the hunt for a frame or piece of art that would actually work for the space.

I also had a little chair fashion show because I couldn't decide which one would look best, none are going to be a permanent solution...but similar to the temporary art- these all helped me realize the scale and vibe of what I need to be on the lookout for. The first chair I tried (the one that I reupholstered last summer) was too tall.
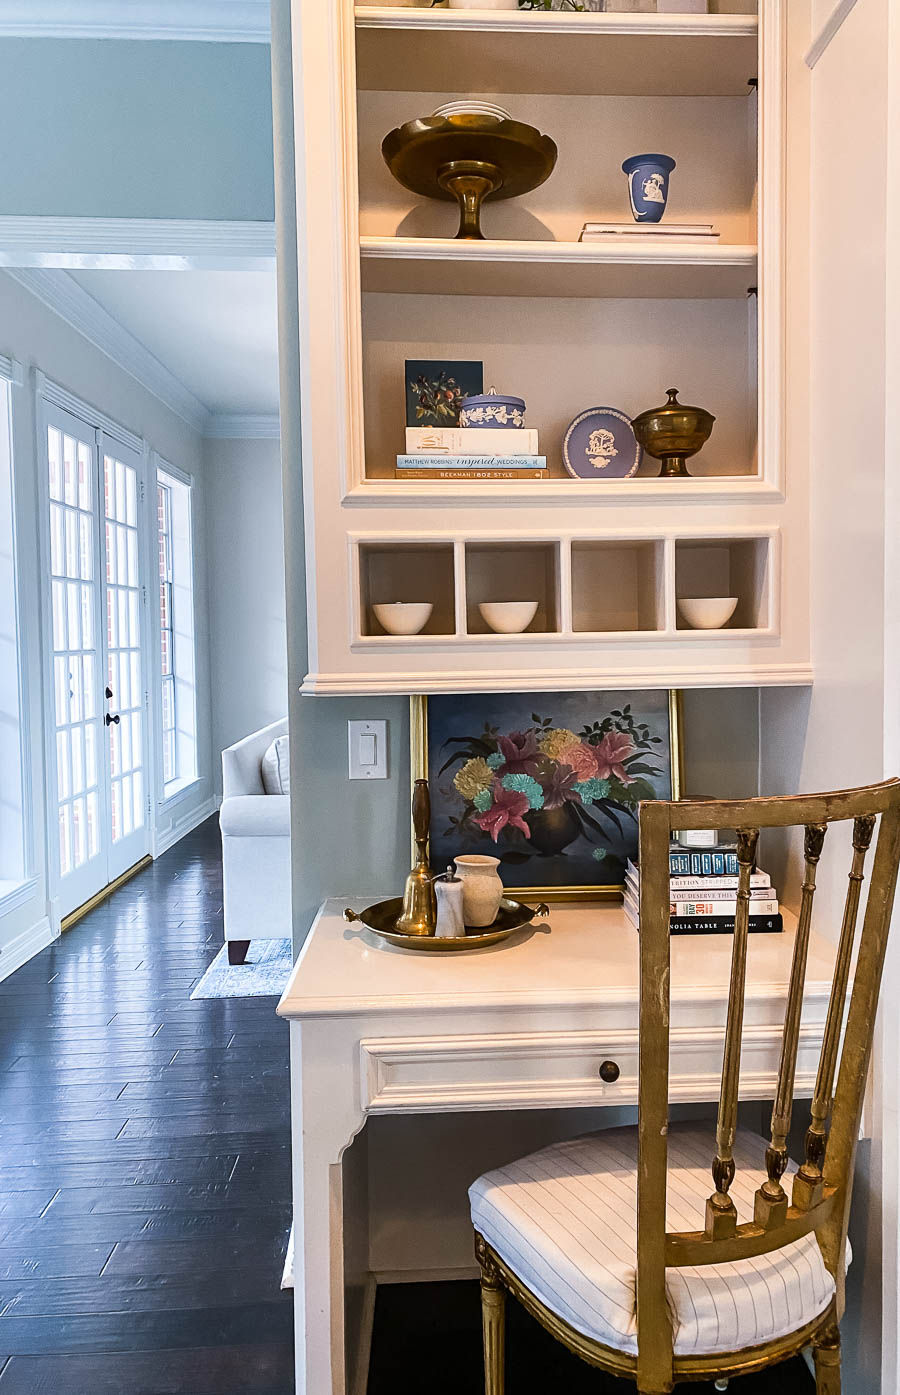
The second chair was pretty but felt a little plain (and small).
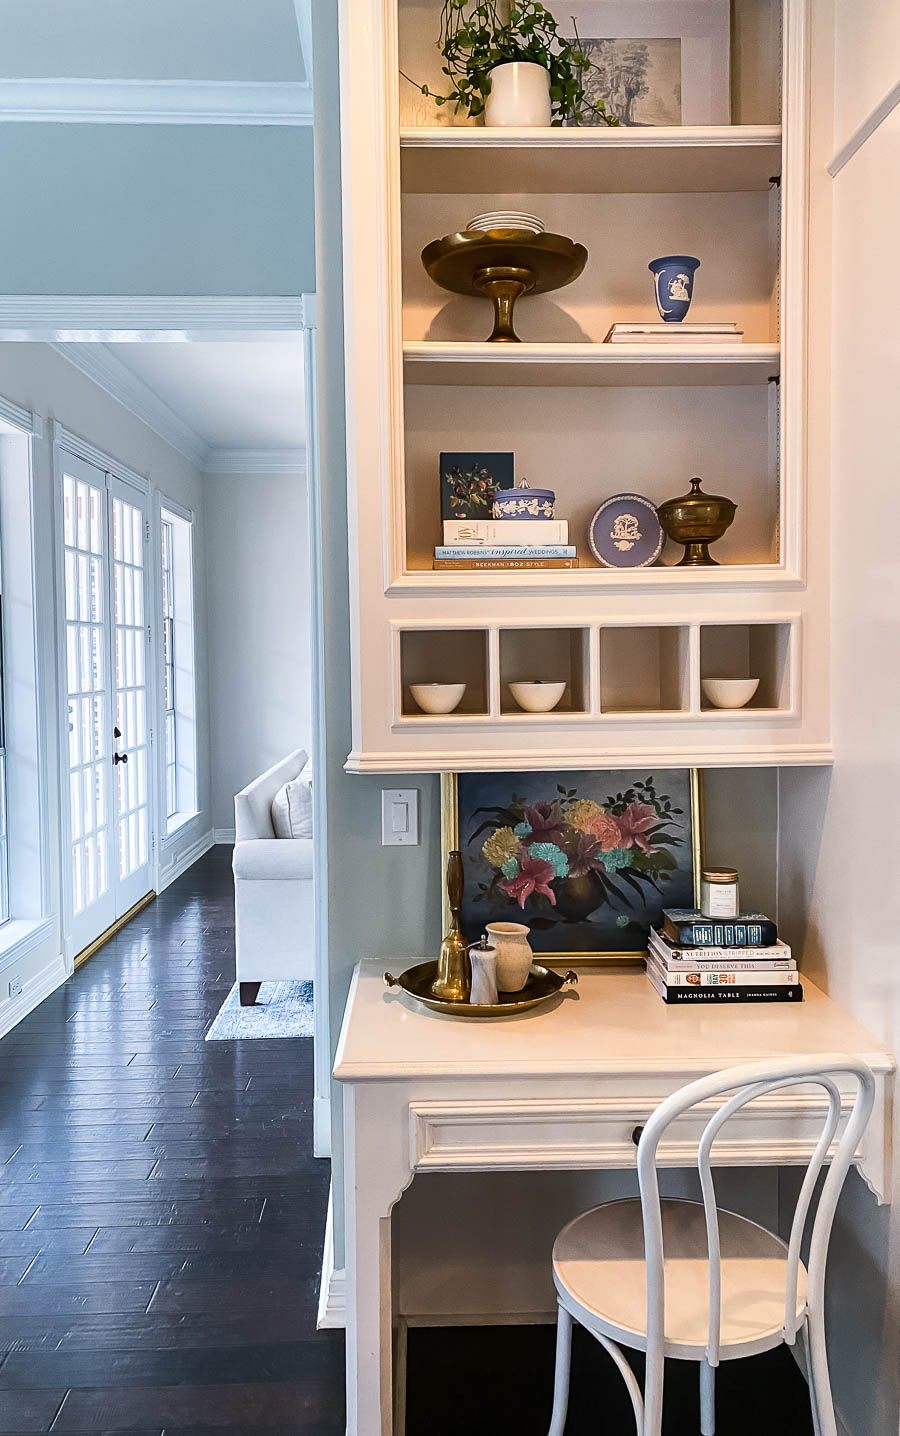
The next one is my favorite chair ever (I have a pair of two), but it's very fragile.
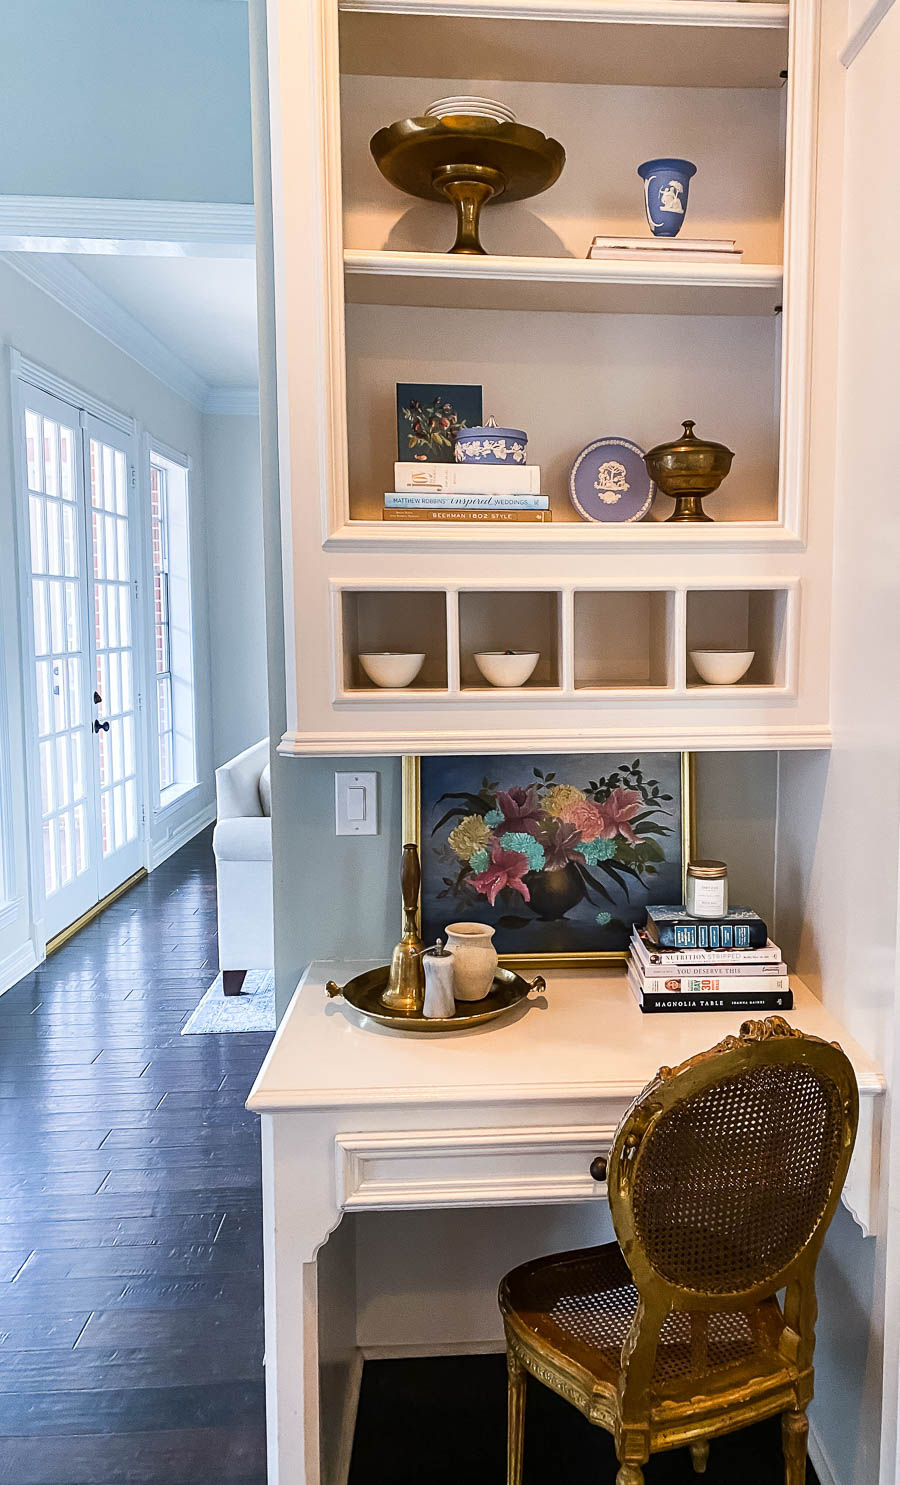
I learned that the hard way as I was using it as my desk chair for a few weeks until a leg broke and I went falling down to the floor. I screamed out and Kris thought I was hurt, but no...I was just grieving my chair! So it's not the right chair for this space, but still...so pretty. I finally tried one of my new bamboo chairs and it was just right.

I bought a set of four of these chairs two weeks ago at an antique store when we were visiting my husband's family for Christmas. I'm planning to paint them, reupholster them, and use them in the breakfast nook, but for now and today's challenge- it looked so pretty here I couldn't help it. I love all the detail- not only on the back, but look at the legs! I see a lot of bamboo inspired furniture, but these feel unique to me. I love how it all come together!
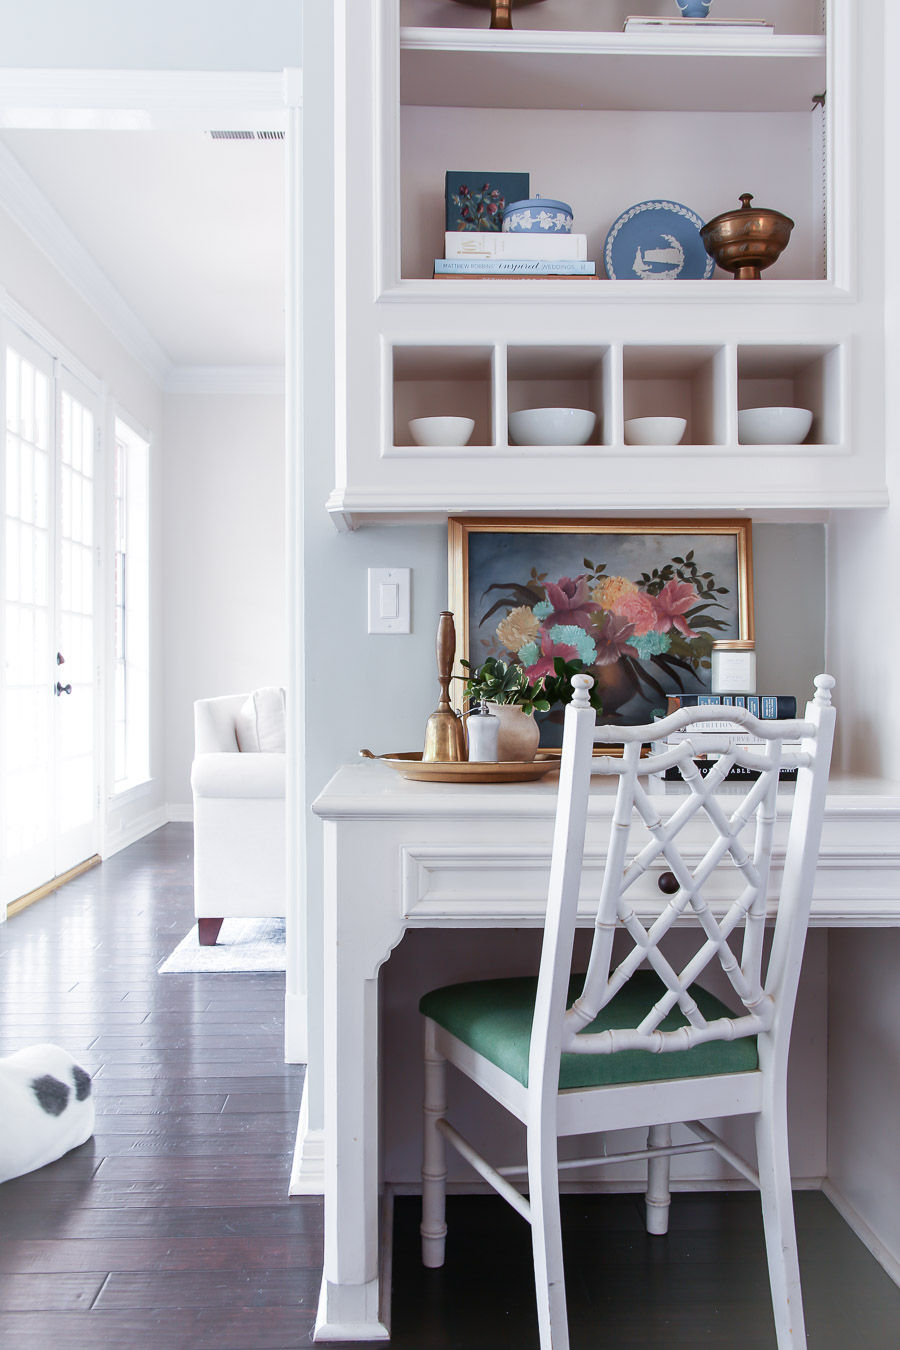
I used a lot of my new fun styling things I've accrued over the last few months.

The Wedgewood pieces (blue and white dishware) were a gift from one of the mother's of a past wedding client (one of my favorites of course). She messaged me a few weeks back on Instagram and asked me if I would be interested in having them, it's her families collection from England that no one wanted and I feel so honored that she wanted to give them to me. I included my favorite three pieces here- the dish, vase, and plate...
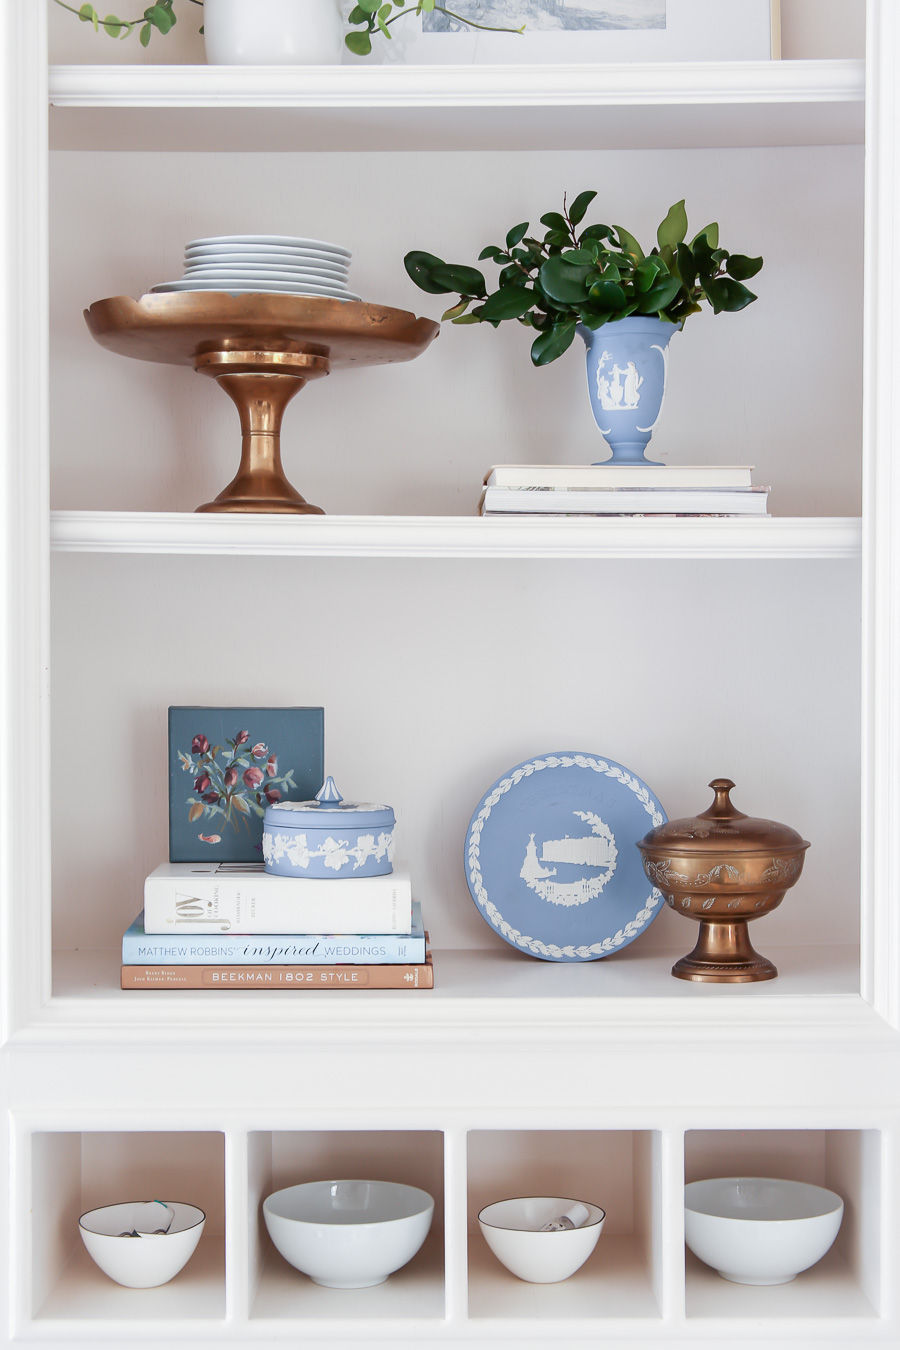
I also used this mini canvas of artwork by Cilla Smith that my friend Lindsay gifted me. It's so beautiful and I absolutely love the colors in it.

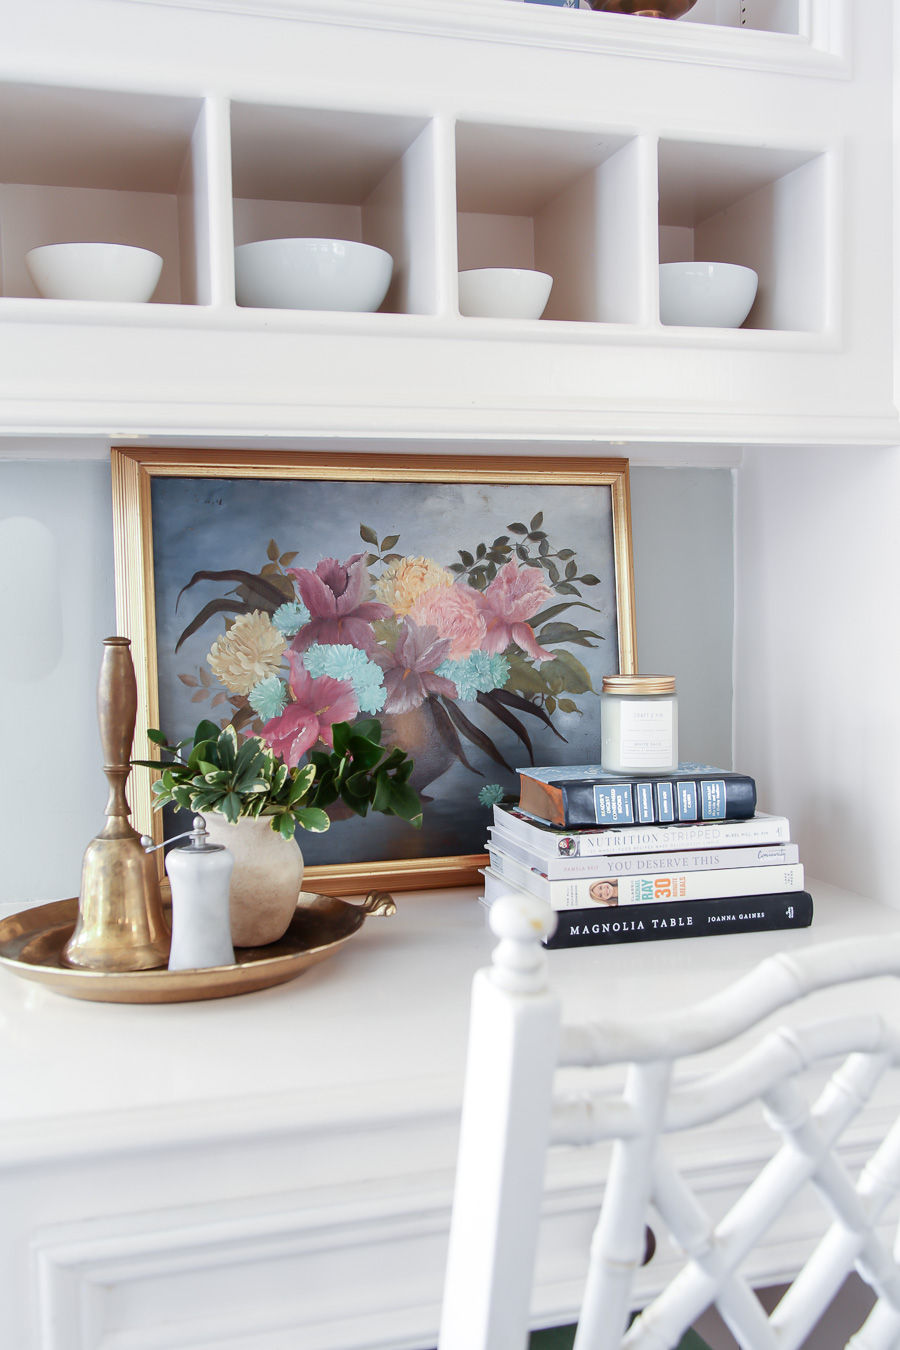
The brass tray, marble pepper mill, brass bell are all antique store finds from the last month or so.
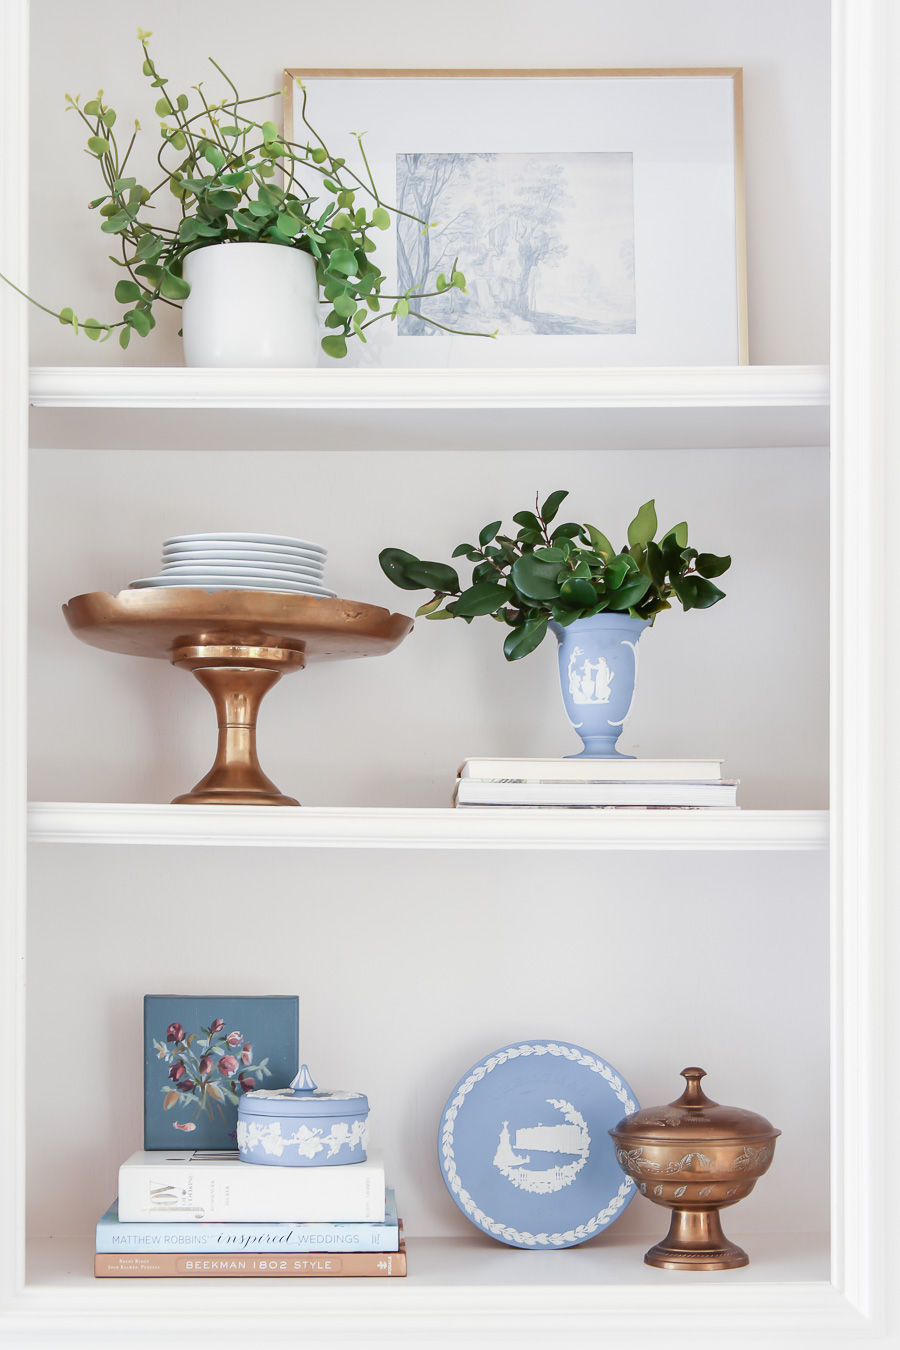
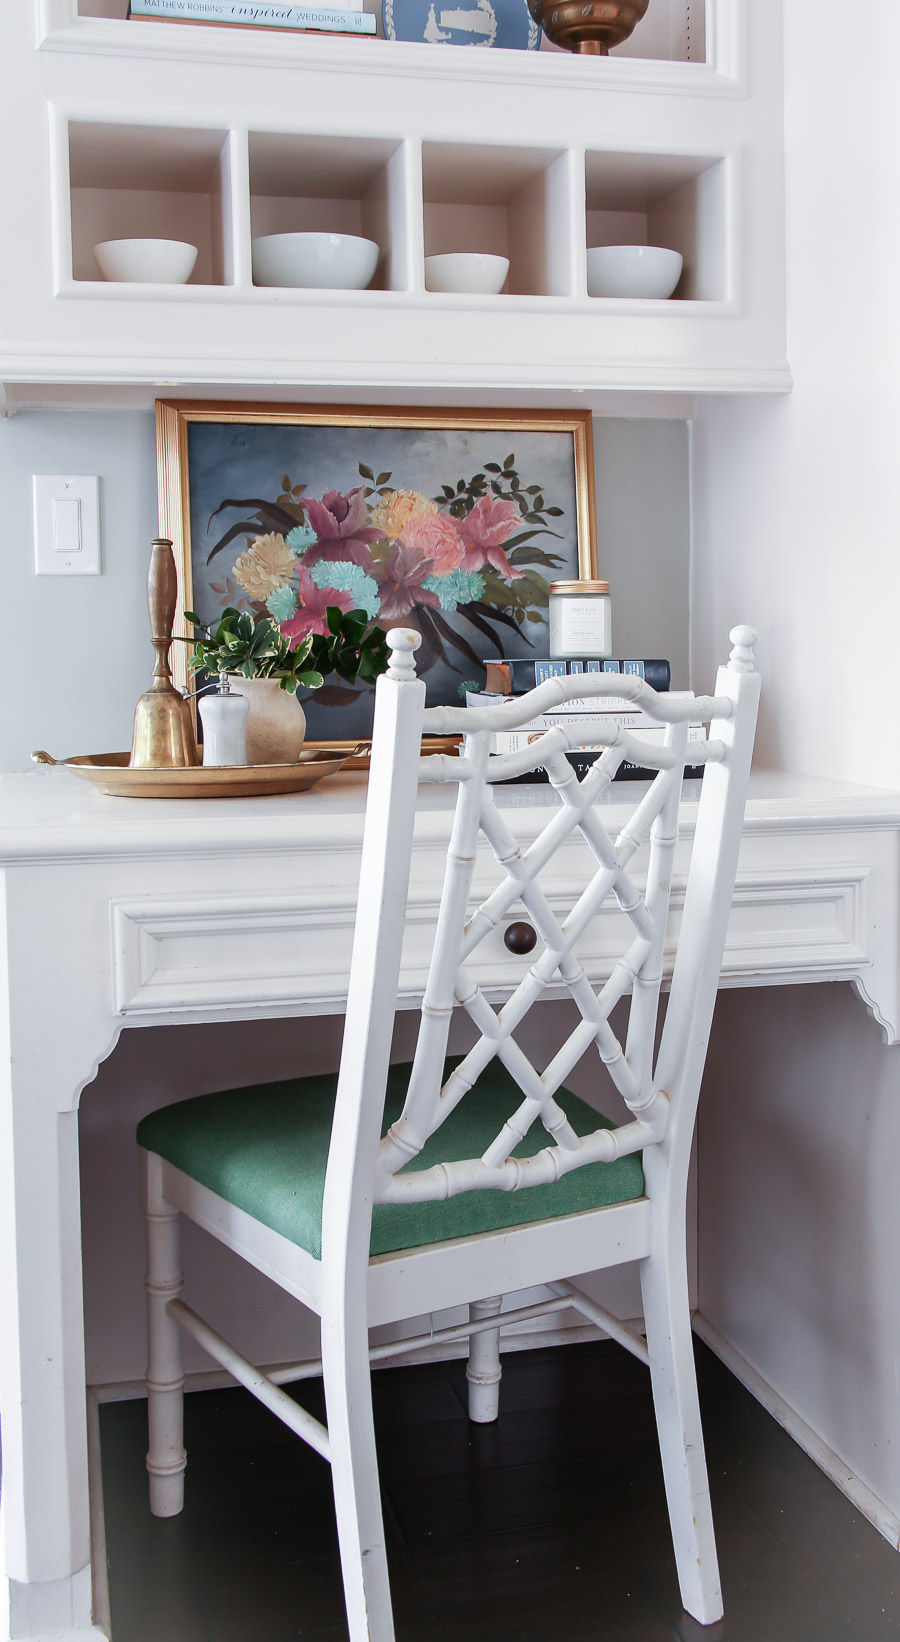
I love how it turned out and while it's not perfect. It's perfect for today! And because I can't help myself here are a couple of styling tips for you:
Using trays to corral items are going to make a collection of items feel pulled together and cohesive.
Plants are your best friend! They add so much life to a styled space. The one on the top shelf is a faux plant and the others are backyard clippings, so you don't necessarily need to have a green thumb. I definitely don't.
Using similar materials throughout a space you're styling helps bring it all together. My materials of choice are brass, greenery, and the color blue. All of those elements are repeated at least three times throughout the shelf. Pick your favorites and make it your own- woven rattan? wood? marble?
And if you want a deeper dive on shelf styling, check out this post- which will give you a step-by-step guide on how to style a shelf!
Let me know how you think I did on the #StyleItNow challenge and I can't wait to see what you come up with!!


Comments